


It was late one evening a few years ago, and I needed some bread. I went into an artisan deli and the only bread left was a tiny loaf that weighed nothing and cost £5. In my desperation, I bought it. It was a significant loaf of bread though, because I said to myself “I am going to learn how to make bread, and not get mugged off for 5 quid”
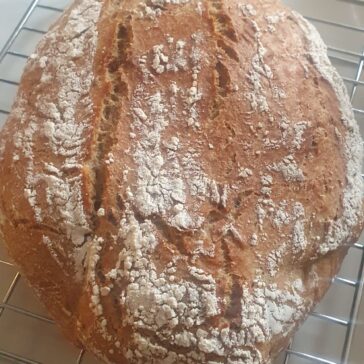
It took me a while to get it right. That’s my bread in the picture at the top. There were a few bricks and some undercooked flat ones with no rise.
Baking bread is not that hard. There’s some practice involved, and it helps to make notes on what you did (differently) and what the results were. Maybe you rushed a step, or forgot the salt!
With some planning, the hands-on aspect of making bread can be 20 minutes or less.
This video from Brian Lagerstrom is what made the difference and what I still follow, and it works fantastically.
There are some kit that help with baking bread, and to get good results every time.
Digital Weighing Scales
The water part of the recipe is in grams, so a digital scale is essential. Getting the proportion of water in a bread recipe correct is vital, so your dough is not too wet or dry and the rise and pop happen.
A digital scale means you can also put your mixing bowl on the scale, add one ingredient. Zero the display and add the next one, so you’re not pouring different things into a container (which needs cleaning) on an analogue scale.
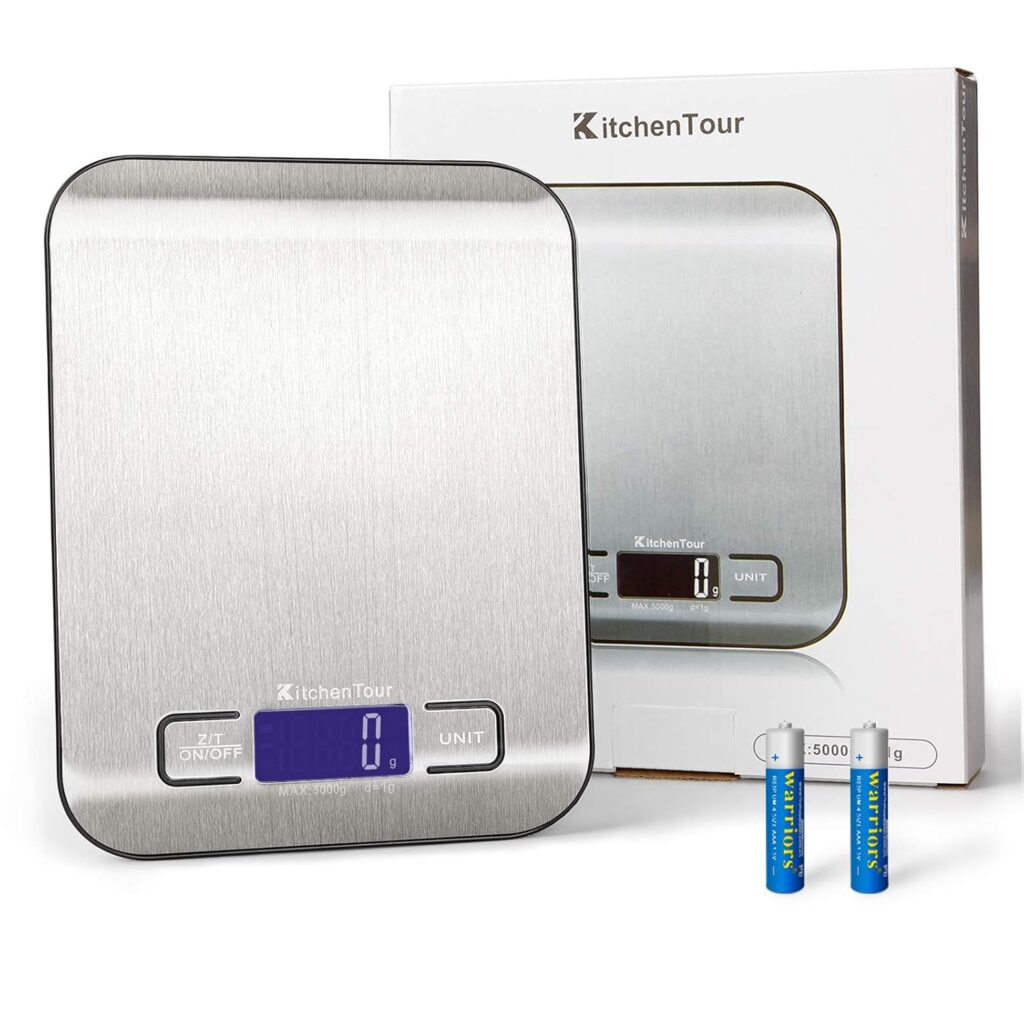
Click here to see the scales i use.
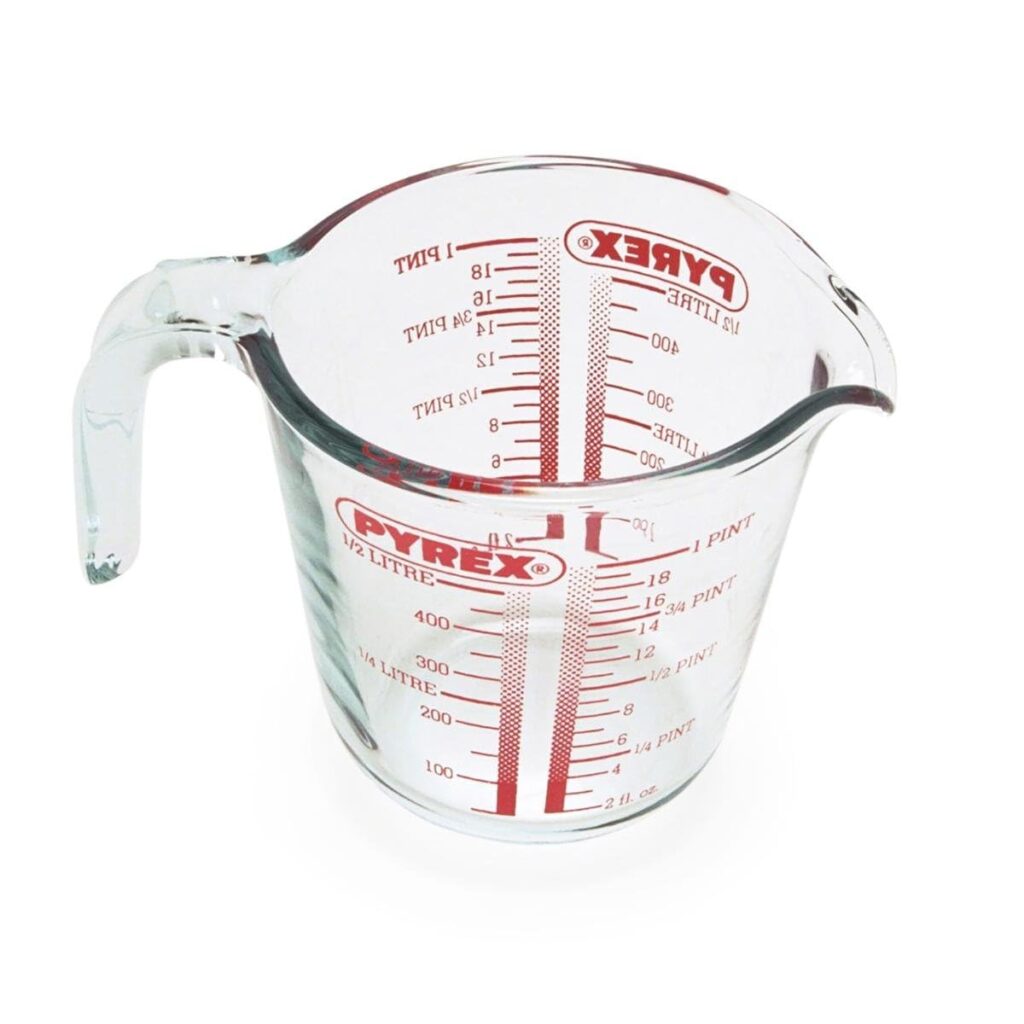
Pyrex Jug
I make my pre-ferment (poolish) in a Pyrex jug. In using this, you can measure out the water, then add the flour to the same jug. It’s glass and not plastic, so no phylites and microplastics are avoided.
Shower Caps
You may wonder what these are doing on the list. I use these to cover my polish and dough. It seems a small thing, but they are perfect for the task. They do get dirty and are not the easiest to clean, so having a few helps.
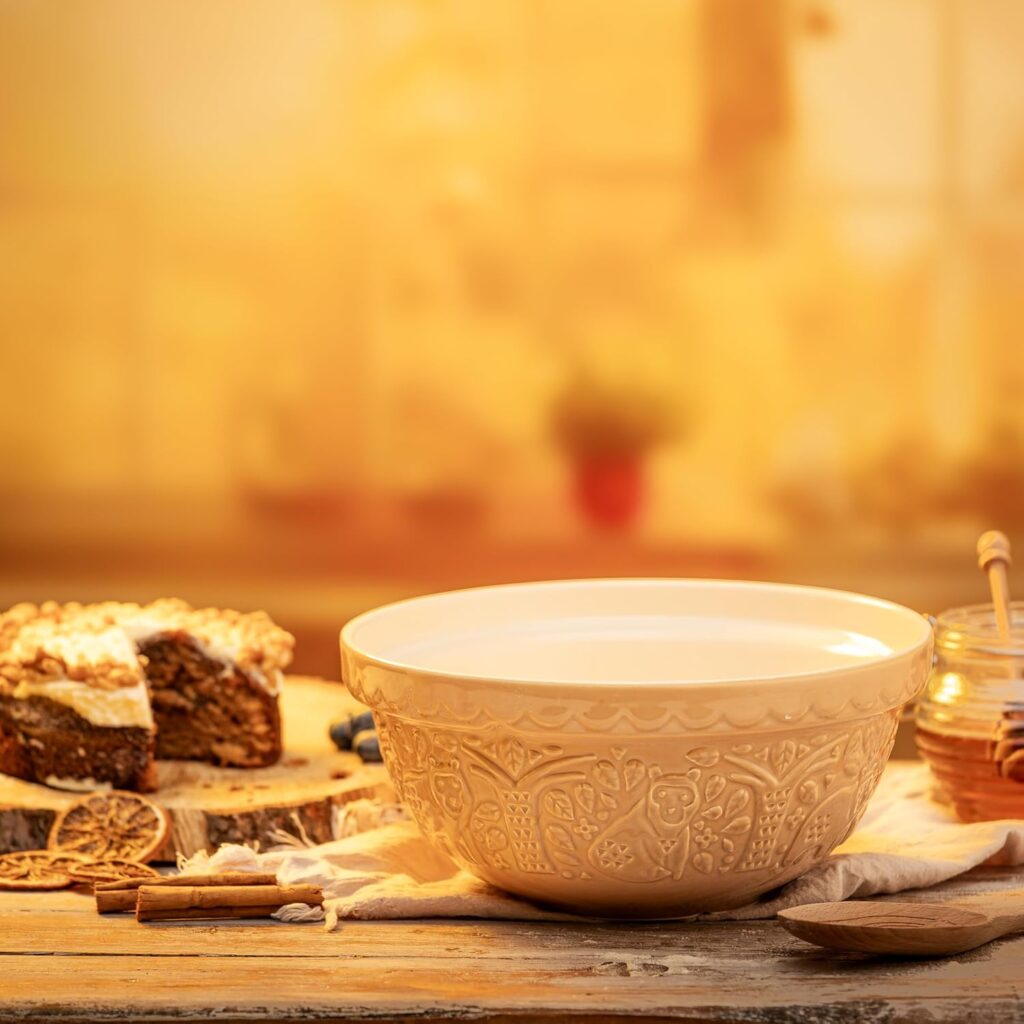
Porcelain Mixing Bowl
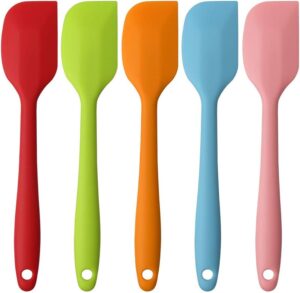
Spatulas
You can and do need to get your hand in, but when the dough is very wet and messy at the start, using a spatula to mix saves losing loads of dough that is stuck to your hand and can be used to scrape the bowl.
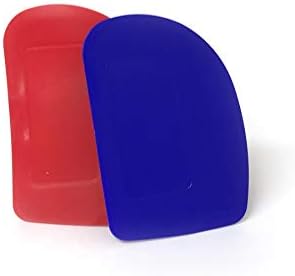
Dough Scrapper
Once the dough is turned out onto the work surface, these unassuming bits of kit work wonders to keep your hands clean but also your work surface. They can be used to keep the bread moving and scoop the sticky dough up off the work surface. Also good for cleaning down. The plastic ones are good. Be careful with metal ones, not to scratch your work surface.
Click here to buy Dough Scrapper
Proving Baskets
Essential if you want your bread to look semi-reasonable. The baskets give the bread support during the final rise and give a nice pattern to the crust. Once risen, the dough can easily be moved/transferred while in the basket. I find having the round and the oval baskets gives you more options.

Click here to buy Proving Baskets
Baking Paper
Stops having to crowbar a loaf that’s stuck in the tin or the Dutch oven. I would rather not use it, but it makes life a lot easier.
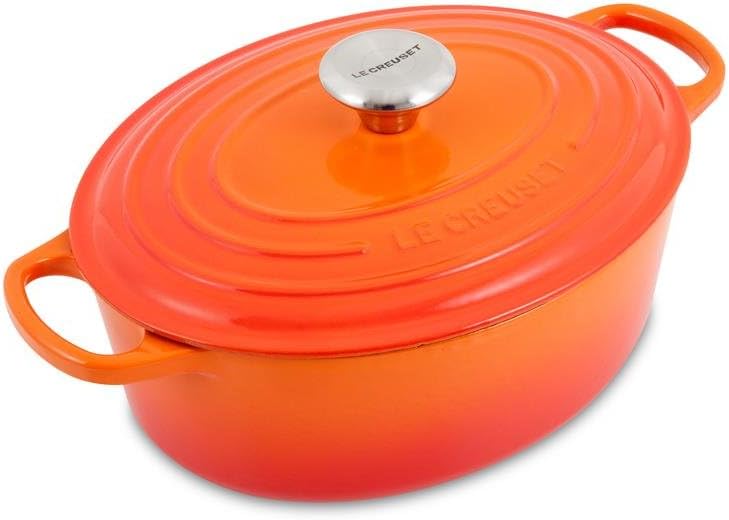
Dutch Oven / Cast Iron Casserole Pot / Le Creuset Pot
This is the bit of kit that I overlooked. I’d previously been using a pizza stone, with varied results. The Dutch oven traps the moisture in, allowing greater rise and pop in the first stages of the bake. Domestic ovens cannot get as hot as commercial ovens, and the Dutch oven retains the heat to help keep the temperature high. They are expensive, but will last a lifetime, so worth the investment. They do other things too like cooking casseroles! I have a Le Creuset which i love.
Click here to buy a bread specific pot
Click here for an oval Le Creuset casserole pot
Baker’s Lame (Razor blade)

Cooling Rack
Sharp Serrated Bread Knife
Once you have created this wonderful loaf, you want to do it justice by cutting it into beautiful slices. A sharp sedated bread knife will do this job for you and make life a lot easier, as you will end up not squashing your beautiful loaf.A good knife is an investment.

Click here to buy Serrated Bread Knife
Books
Below are a couple of books that have aided me in my bread-baking journey. I have yet to branch out too far. I’ve made pizza dough (highly recommended), pitta bread, naan bread, and tortilla wraps. Focaccia is on my list. My Dad has managed to make it so it can’t be that hard. Click titles for links.
How to Make Bread: Step-by-step recipes for yeasted breads, sourdoughs, soda breads and pastries – Emmanuel Hadjiandreou
How to Bake – Paul Hollywood – includes other baking recipes (pies and cakes)
Bread: River Cottage Handbook No.3 – Daniel Stevens
This page contains affiliate links. If you purchase through them, I may earn a commission at no extra cost to you,